
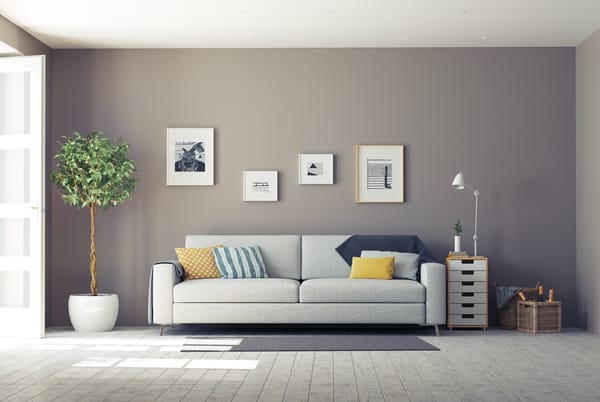
Hanging pictures can be one of the most frustrating and time-consuming tasks for even an experienced DIYer. The key is not only to find the right placement, but also proper hardware suitable to support the given weight of your piece. First, choose your location – this might take some time and consideration if you’re hanging several pieces.
Step 1. Measure the wall space where you want to hang your picture. Add at least 6 inches on each side of the frame, and mark this measurement with pencil on the backside of the frame – do not use ink; it may bleed through. This is where you will place your nails or screws later. If you are hanging more than one piece, space them evenly apart. Practice centring them equally before hammering anything into your wall.
Step 2 . If you are hanging artwork over furniture, try rotating the piece so that its orientation allows for easier placement/hanging of new hardware on all sides. Make sure there’s plenty of room behind it as well!
Step 3. Find your studs by using a basic stud finder, which can be bought at any hardware store for an affordable price. Once you mark the wall with pencil where the studs are, make sure your measurements are accurate before hammering anything in – if you accidentally get off-centre with your nail or screw, you’ll have lopsided artwork! Now that you’re ready to hang, use either nails or screws to attach picture hangers to the back of the frame.
Step 4 . Attach wire ropes or chains that are rated for twice the weight of your piece(s) to each end of that same hardware. Make sure they’re long enough to hang over whatever hook-type attachments on top of whatever type of wall surface you’re working with (wood, concrete, stucco etc.).
Step 5. Hang your picture by resting the wire ropes over whatever hooks you’ve chosen to hang it from at your desired height – make sure there’s enough slack in the rope so that the bottom of the piece is exactly where you want it to be. You can also use a level to help guide yourself for this step! If everything looks good, tighten all knots and cut off any excess strands of rope or chain. And there you have it – enjoy your new art!
Hanging pictures doesn’t have to be a frustrating chore. With these simple steps, you can hang any picture with confidence and enjoy the finished product!


